STEP 4 - A quick look at the stock system
1. Click on the 'STOCK AND PRICES' option in the 'Fields to display' list and make sure you have the SCREAM product group selected:
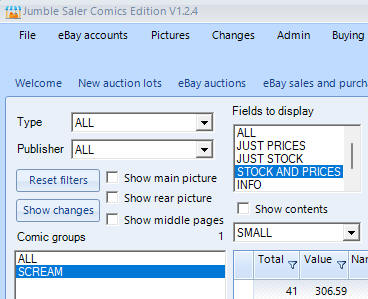
and your screen should now look like:
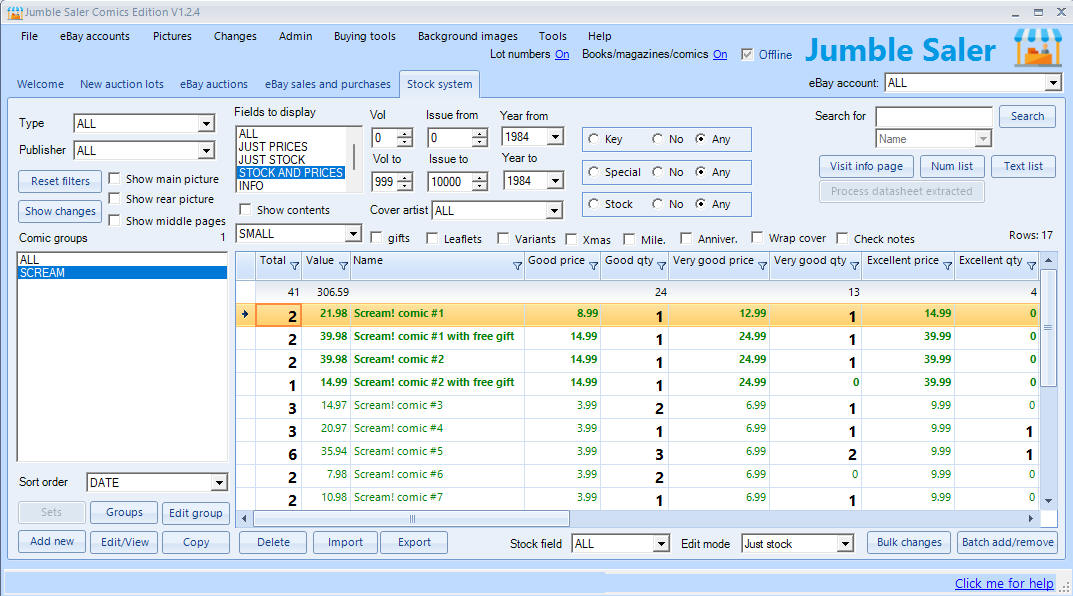
You can see your names for the gird columns and you and see the price and stock fields. We have included test prices and stock levels.
Other things to note:
1. The 'Fields to display' list is currently set to 'STOCK AND PRICES' which shows the stock and price fields together and also gives a total issues total and a total Value based on the unit selling price. Now on 'Fields to display' click on 'JUST STOCK' then you get a view which is good when you have new stock to add to the system:

You can include stuff like 'Check notes' which are things to look out for on specific issues of your items. So for Scream! comic #3, then is 'Game & coupon just before centre' as the note. Some comics also came with free gifts, normally stuck on the front, but sometimes inside as centre posters. So the free gift descriptions are there as well.
2. You'll notice in the above pictures that the first 4 lines are highlighted in green. This is because they have been marked as 'Key' issues in their records. This is useful when batch setting prices, as you will want to charge more for important or rare issues. You can use the Key radio buttons if you just want to see key issues:
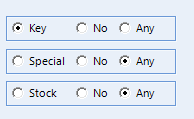
or if you select No instead, then you can just see non-key issues which is handy for selecting them call and then using the 'Bulk changes' button to set their prices:
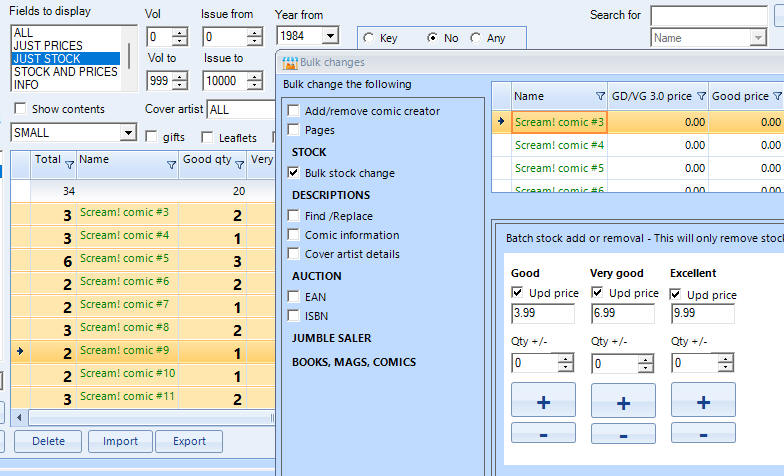
3. To show the stock pictures of the item, then click on the 'Show main picture' check box:
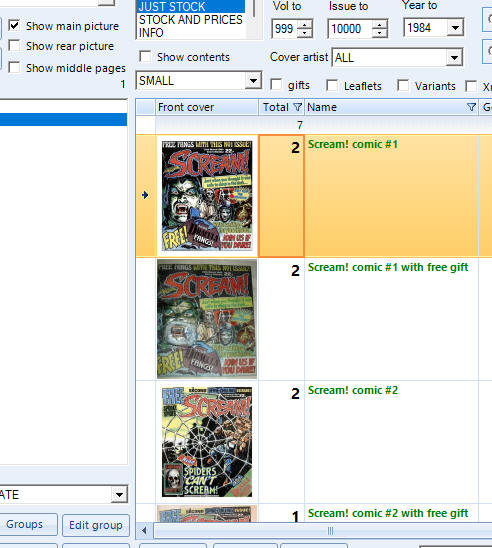
4. To edit a product, then double click on it:
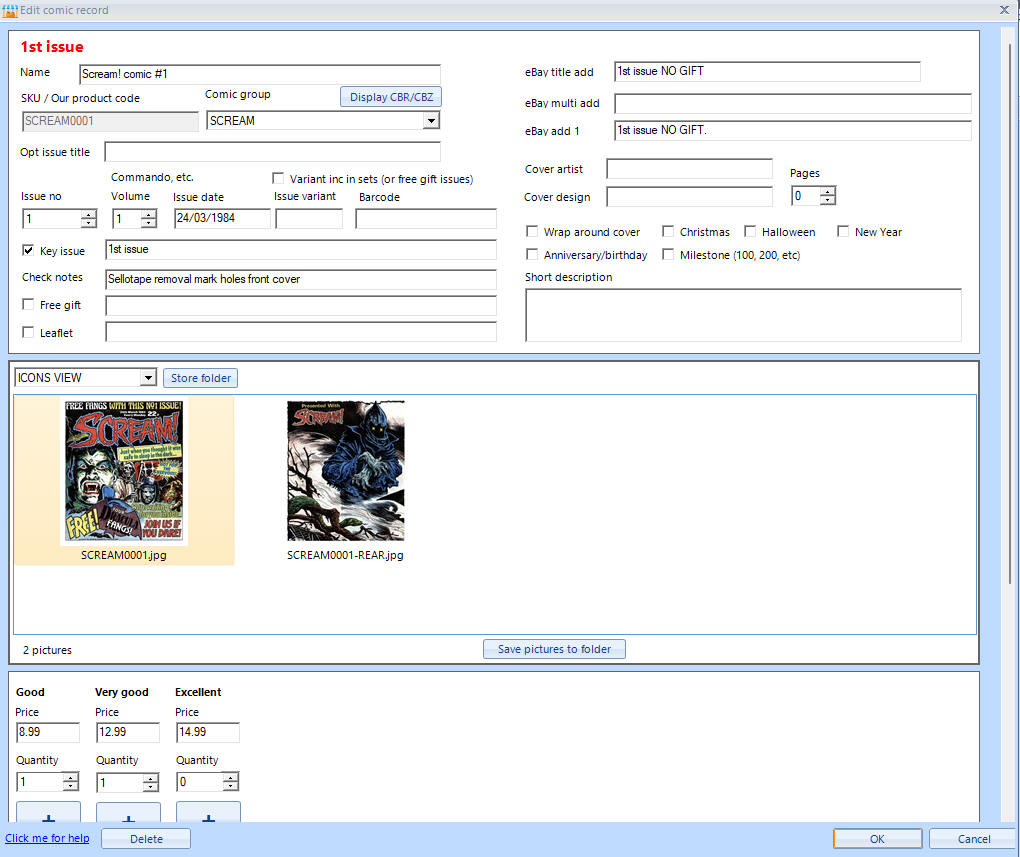
How the record is displayed depends on the Edit mode box on the main Stock System screen:
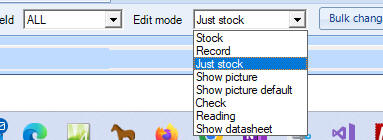
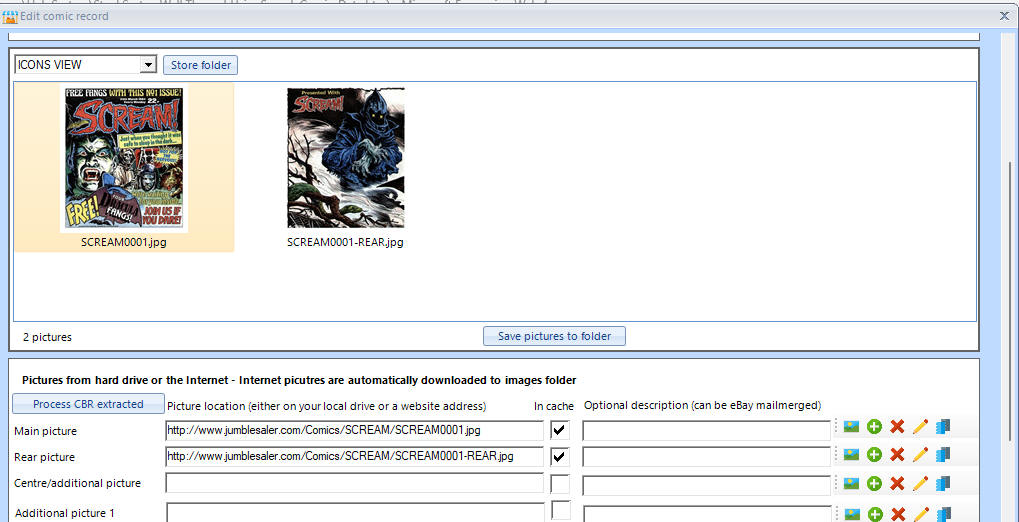
So changing this to Record, for example, then double clicking your product, gives you the main data entry boxes including access to adding and removing pictures:
5. Close the record screen and return back to the grid. Another thing to notice is that the same product can have variations. Click on the 'Fields to display' list and change to 'ALL'. This changes the grid columns again:

You'll notice there are 2 product codes for Scream! comic #1:
SCREAM0001 for the comic without the free gift
SCREAM0001FG for the comic with the free gift
The FG part is also in the Variant column. This is how Jumble Saler handles variants to a particular product. See Creating product codes for comics for more details.
6. If you just want to see the stock of a particular grade (because you are adding stock or doing a stock take), then use the Stock field list:

to choose to just work with that field. If you then use then either edit a product record, use 'Bulk changes' or 'Batch add/remove' buttons, then it will only show prices and stock for the selected grade. There is another help page called Ways to add and remove stock quickly which you can look at later.
Conclusion - So we have some products to work with same sample prices and stock quantities mixed between 'Good', 'Very good' and 'Excellent' and we also have 2 variant products with Scream! #1 and #2, i.e. ones that still have their free gift attached. So our stock is set up and ready for eBay. If you had the physical comics to sell, then you would probably have a single box, with dividers for each grade (good, v good, etc), and them ordered by issue number in each grade. This allows you to be very organised and also if someone from eBay message you after a particular issue, then you can see what you have on one screen, without having to go to the box to look at the physical comics.
Next step - Step 5
Previous step - Step 3
Return to Step 1
Support
Any problems with the walkthrough? Just contact our Support Department and they will be happy to help.